The day of the party (post) is finally here! After a lot of thought, and a bit of prep, the Lalaloopsy and Hello Kitty Cute-as-a-Button birthday party actually came together. Here are some photos of some very budget-friendly DIY ideas for decorations, food and activities at a sweet little girl’s party. It was supposed to be a sewing party, but no sewing was actually done by anyone!! Buttons were the big inspiration for this party. Buttons and a crazy brightly-colored curly-haired doll…. A button paper punch from Martha Stewart supplied a whole bunch of cute buttons for party decor, as confetti scattered on the table, and as wall decorations and even ended up on the juice cups! {The table runners (in turquoise and in yellow) were part of Ikea’s summer line.} Here’s the Lalaloopsy doll that also inspired the party and the party color scheme. Her name is Marina Anchors, with her little pet whale and dressed in a cute sailor suit. I found a perfect turquoise metal bicycle for her. Her friends Hello Kitty and Pink Sock monkey took a ride with her.
I did a photoshoot of Marina and her friends and made up a digital invitation. If you would like a copy to use for your little girl’s party, just let me know!! They can be emailed or printed out as 4×6 photos. 
For place-mats at the table, I made up my own Lalaloopsy coloring page using some images I found online. Did you notice that her eyes are black buttons? And the sock monkey has button eyes, of course. I know a lot of people think that the button eyes are a bit creepy, but they fit so nicely into the cute as a button party idea….
 There are lots of sewing party and cute-as-a-button party ideas online (Pinterest) that I found. You can look at my Lalaloopsy and Cute as a Button party idea board here. I loved the idea of using embroidery hoops as wall decorations at the party. I decided to use scrapbook paper and wrapping paper in the hoops. It was a little tricky squeezing the paper in some of the hoops, but it did work out. On one pink page, I printed out the title “Tasya is turning Sew Seven” (the Sew Seven title was an idea from the Sweet Designs blog, and a few other sewing party ideas).
Here’s some wrapping paper with a doily…. And a few paper buttons were added on some of the hoops and on the wall. Hmmm, how to arrange these hoops on the wall….should I set them out on the table and arrange them….? It was easier than that….
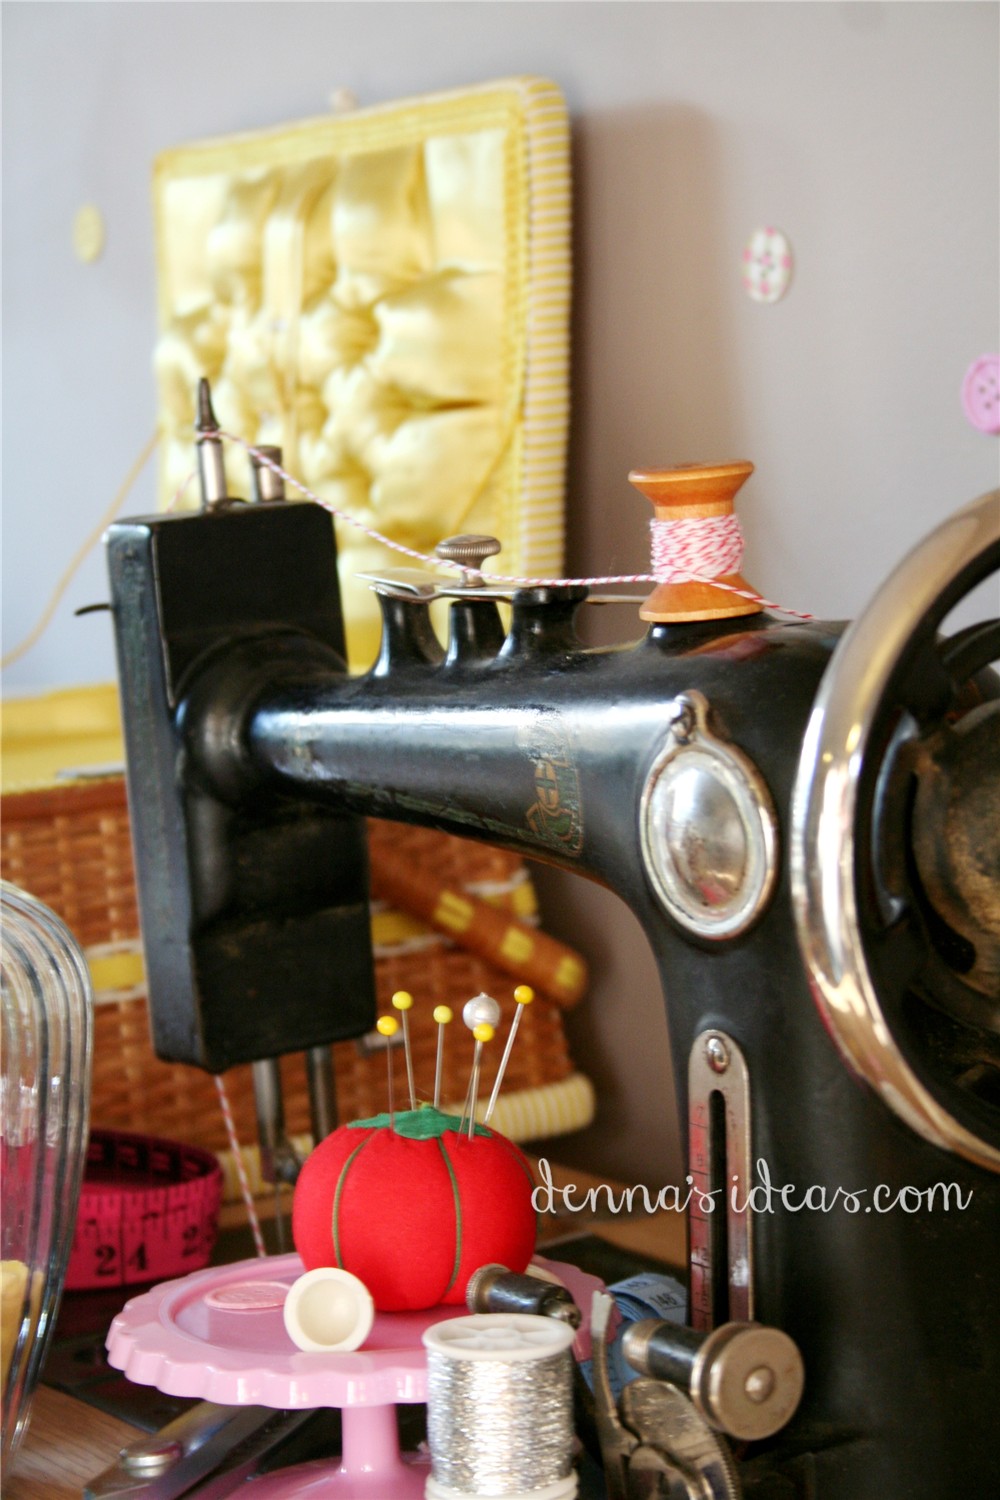
 Using sticky tak, everything was strategically arranged on the wall to cover up every mark and ding possible!! I just followed the places I wanted to hide…..right above my old sewing machine. That’s why there are buttons scattered randomly around. Pretty clever if you ask me…..that’s how I work, my motto long being Necessity is the Mother of Invention.
 I pulled *all* my sewing stuff (a very small collection, as I am not a sower, but just terribly fascinated with it all).
 Add a little baker’s twine to the machine!! It’s in the party colors, too. I had seen a lovely banner to make on the Raising Up Rubies blog, and I really really wanted to make one, but at the last minute (as with a lot of things) ran out of time, so my daughter made a few for a small scalloped edge below the sewing machine and it looked very cute. Made from paper doilies and cupcake wrappers. Click on the blog link for a tutorial!
 The morning of the party, I decided to do a little craft with the b-day girl’s photo…..on a canvas on an easel. I was so pleased with the way it turned out! It was super easy, too. I’ll try and get a post done of this little DIY craft…
There were a few other photos displayed….
Along with some vintage handkerchiefs that belonged to my grandmother. They seemed to go with the sewing theme…
Another awesome decorating idea, which was super easy, super budget-friendly and super fast was this paper plate button banner. My older daughter and her friend whipped it up for me very last minute (like, guests were already inside the house!!) Paper plates + punched paper circles + glue stick + hole punch + ribbon= party banner!!! One of my favorite ideas was another last minute brain wave, when I brought down my vintage sewing basket and realized that the inside lining was perfect party yellow!! I decided to line the top tray with yellow cardstock and set the mini cupcakes right into the sewing basket!
 I have already posted about how to make button cookies here, and they made it to the party, too. The day before the party, they were sent to my daughter’s class packaged in little bags that said “I’m Sew Blessed to have you as my friend!” They make perfect party favors, too (but I didn’t actually get enough made for party favors…)
 I put the buttons in a jar…for the sewing machine dessert table….they were my favorite dessert at the party!
 Then there was a cute sewing button cake. Here’s a step by step how to for decorating the cake. It was very quick and easy…even the little doily banner. It seemed like a good idea at the time to use a cake mix…..bleh!
 So here’s how the display turned out:


Mason jars with cupcake wrappers over the top and a blue paper button, for the very pink lemonade:
My Lalaloopsy girl was wearing a pink dress and eyelet pinafore that my mother sewed for me, oh, years ago!! I used to wear it to school….without blue curly hair, though.
Here’s where Hello Kitty makes her appearance at this party!! She didn’t want to be left out. Super cute plates from Target…
 Giant sized coloring pages, also from Target, were used to last-minutely add some wall decor…just right to cover up the annoying thermostat….
 And here is where my big splurge comes in….I’m usually pretty good about DIYing my party stuff from dollar store supplies, but I found THESE. These pink sparkly purses with big bows. There were 6 of them and they were on sale!!! So I guiltily bought them and saved them for the party…for the party favor bags. In the end there were going to be more guests, so I went back to Claire’s and found some more matching little backpacks and purses. They were pink and purple plaid. I had not wanted to invite Purple to this Pink and Red and Yellow and Turquoise party, but she ended up sneaking in anyways. She would have looked cute in the button cookies…oh well. So the purses were tied onto the backs of the chairs…
 Filled with a few treats and candies…not too many as the purse was the big favor!! (the colors in my photos are so wonky!!)
 There were a few more last minute decorating ideas that actually happened…like this poster cloud that had to appear to hide a big decal on the wall….with pink sharpie stitches running around the edge and a doily and more paper buttons to disguise the nail sticking out….
 My sister had given me this adorable fabric for Christmas, with little paper dolls on it!! So last minute it was taped to the lampshade and pinned onto a pillow….(with safety pins of course!!)
 Hmmm, that other pillow….I guess I did actually sew it, about 10 years ago, with my Mom supervising me on her surger….! I suppose I do occasionally sew things, with a lot of supervision, but in between projects, I actually forget how to sew. And still can’t get my machine’s tension right!
 There was also this cute flower arrangement on the table….like a cherry sundae made of flowers! There’s a how-to right here under budget-friendly flower arrangement

 We had the table set with the coloring place-mats and crayons in mason jars so the girls could color right away as the first activity.


And then came lunch!! The food was Lalaloopsy themed and you can see the recipes and how-tos here in my previous post.


After lunch I wanted to play “Button, button who’s got the button?” but wasn’t sure exactly how it was played…so I invented my own version, with the girls hiding buttons in their fists, and the next one guessing and keeping the button if guessed right. It worked! Another game was the one where you get lengths of yarn, and must tell something about yourself while you are winding the yarn around your finger. That worked to get the girls telling some things about themselves! Oh yes, and a button craft!! I had wanted to do a sewing craft, but it just didn’t work out. So we made cards with a stamped mason jar and there were lots of buttons for the girls to choose from to fill their jar…

 I had some stamps with phrases, so the girls could choose to add Thank you or Happy Birthday or Happy Holidays. Most of them chose Thank you. The girls were quite creative with their cards, and decorated the envelopes, too. After the party was over, I found my daughter’s card…
 It says Thank You Mom for my Birthday, with adorable misspelling!! How cute is that? So wonderful to know that she was happy with her birthday party! 🙂
 The girls had a laugh making “lalaloopsy eyes” heh, heh!
 And trying on Hello Kitty glasses!!

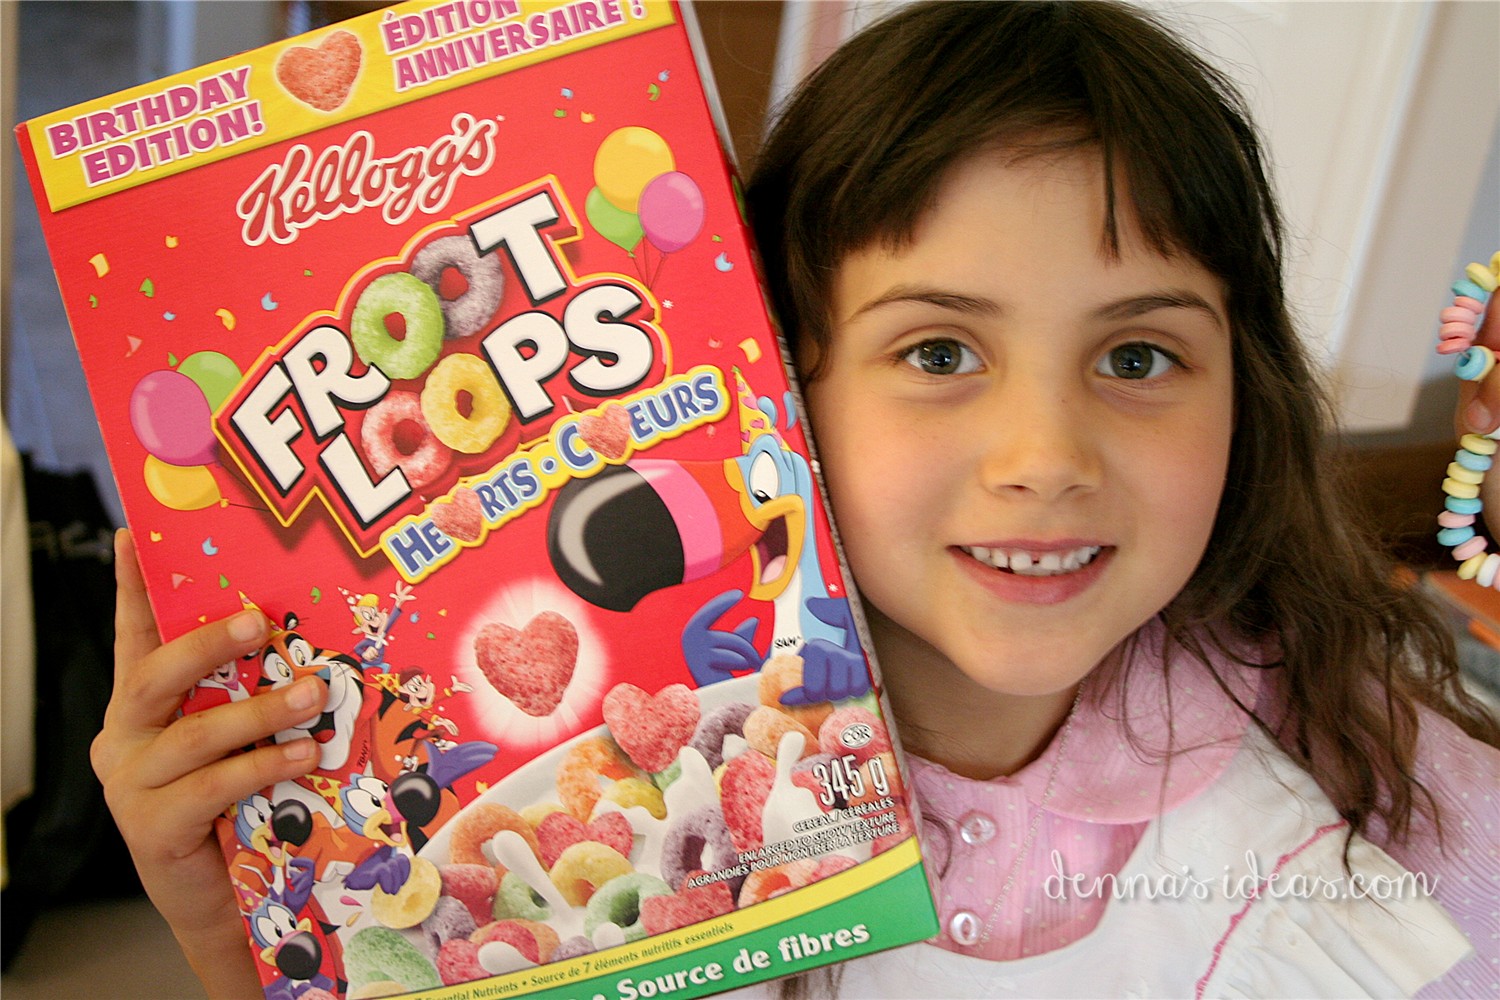
 It was a lot of fun! Here are a few last ideas for a Lalaloopsy themed party. One of the snacks could have been Froot Loops (loopsy, get it?) I had found the perfect box. a Birthday Edition with hearts in with the loops….since that’s our birthday tradition, sugary cereal of their choice for the birthday child…
 And then there were some really cool spool of thread pops that I saw in several places on pinterest, made from marshmallows and fondant and candy melts, that I started working on…but I wasn’t pleased with them, the marshmallows were too weirdly-shaped for my liking, so I didn’t finish them….and we totally didn’t need any more sugar!! (I never put the candy melt “thread” on the “spools”)
 As you can probably tell, I do a lot of things last minute for my parties. Not to mention that the whole house has to be tidied up before the party, too. It all adds up to a lot of work! I’m grateful for my family’s help! My oldest daughter especially helped me get a lot of the last minute decorating done. Seems like I don’t stop decorating ’till the 2nd or 3rd party guest arrives… Ah well, Lalaloopsy party has now come and gone, good thing I still have my little dolly around to brighten my days!


Instead of starting life out as an egg, he started out as this (cream cheesy, oniony, pinappley goodness):
And then rolled around in this (pecans):
I found that after sitting around a while, the pecans started to soften up (especially the next day). I think I would try and roll him in pecans at the very last minute before the party! I used white chocolate chips for his eyes, glued him together with black candy melts. His neck is a pepperoni stick and candy corn for beak and feet!
With the extra red candy melt I made his “gobbler” and wrote….a little word….I was in a hurry, ok?!! (and my brain has been turning to mush lately)
To go along with Mr. Gooble, I was all excited to try this traditional Texas snack mix! (Texans, tell me the truth in the comments below:) A delicious recipe for Texas Trash! I found it on Little Magnolia Kitchen and just changed her recipe a bit to fit with what I could easily find. The only Chex cereal I could find was Honey Chex (see photo above)!! And the nacho flavored Bugles. I made up half the recipe, and could barely squeeze it into my pan. Little Magnolia’s recommendation to use a large aluminum foil roaster is a good one….next time! I didn’t have steak spice, so just kinda made my own with what I had. So things were kinda different, but kinda……AWESOME!
It turned out Y.U.M.M.Y!! Definitely a hit!!! I think it might go on our “traditional” list. We thought of our Texan relatives while we ate it!! 😉 (Oops, should I have said that???)
There were some other new recipes that I tried out this year…..let me get it together and I’ll do another post…..


 Then an older kid colored the words in with black marker so they’d stand out a bit. Posters, bday banner, favors, centerpiece, check!!….bring on the food and the party!