Tag Archives: hornear galletas

How to make Button Cookies for a Lalaloopsy party!

Standard

Well, it’s more like a sewing party….and what could fit that theme better than some button cookies?!  Button cookies are not my original idea, there are all sorts of button cookies floating around out there in cyberspace and other people’s kitchens and such.  But anyways, this is my version of them.  I gave them a photo shoot this morning.  I needed to see something sweet and colorful to cheer me up!  The ugly photos for the “how to” were taken last night in bad bad light…they are FYI only.  Here are the cute buttons:denna's ideas: button cookies for a sewing partydenna's ideas: button cookies for a sewing partyHere’s the HOW TO:

Make:  cookie dough with real butter, add liquid food coloring.

Tools: rolling pin, small circle and scallop cookie cutters, other round objects, plastic drinking straws, scissors.

First ,mix up some cookie dough.  I used LilaLoa’s recipe (click here) for vanilla rollout cookies and  was very pleased with it!  I followed all her directions and used the full amount of flour and baked them for about 6 to 7 minutes.  I divided the dough into thirds, even before I was finished mixing it, and added a few drops of liquid food coloring to each little batch (they were the neon colors from the grocery store).  The colors didn’t mix in well until I kneaded it…totally looked and felt like playdough!!  The dough is quite stiff.  You can roll out the dough right away with this recipe, which is nice.  I did stick the colors I wasn’t rolling out into the fridge to wait.

Roll out the dough and start cutting circles!  Use 2 slightly different sizes of circles.  I used the 2 smallest cutters that I have from a set of circles that are plain on one end and scalloped on the other end.  You can also use other small circular objects (clean) for making patterns in the buttons.denna's ideas: how to make button cookiesUsing a slightly smaller circle, press into one of the cut out cookies…but not hard enough to cut right through!denna's ideas: how to make button cookiesFor some of the buttons, I used a plastic communion cup to make an even smaller third circle…denna's ideas: how to make button cookies

Then use a drinking straw to punch out the holes in the middle of the button, either 2 or 4 for each button.  I cut up a plastic straw into thirds, then used each side to punch out holes, since the straw gets full of dough.  You can squeeze out the dough to reuse it (or eat it), but it flattens out the straw.  I went though a handful of straws with the whole  batch (three colors) of dough.denna's ideas: how to make button cookiesIt is quite easy to do, and doesn’t take too much time.  You do have to eye-ball everything to get it centered up.  I suppose you could make a paper pattern with circles punched in, then overlay it to punch the holes through the dough….that just sounds like way to much effort to me, though the results would be practically perfect!!denna's ideas: how to make button cookiesSome of the cookies received a scalloped flower design….I really liked these ones!denna's ideas: how to make button cookiesBake those babies!  I always use parchment paper to bake cookies, since I only have one cookie pan, so I fill a sheet of parchment while the other batch is baking.  The colors in my photos are weird, I know, the cookies didn’t really change much when they baked…it’s my flash.  Here are the baked cookies, they hardly spread at all and kept their shape very nicely!denna's ideas: how to make button cookiesHmmm, I forgot to count up how many cookies the batch of dough made….lots though!!  We ate up the deformed ones of course, and some raw dough, and even so that left lots and lots of little buttons.  I re-rolled the scraps several times, so some of the cookies look a bit cracked, but I was trying to get as many as I could from the batch.  You could probably avoid that….

Now back to the “fancy” photos….denna's ideas: button cookies for a sewing party4x6  blog photos landscape - Page 005The colors turned out quite well with minimum effort, I thought.  The right shades of blue and pink can be hard to make, since sometimes the blue looks more aqua since there’s a lot of yellow in the butter and the egg yolks….good thing I wanted aqua!!  I didn’t fuss with the pink, either, and even started dropping in purple food coloring by accident!  I dug most of it out and then tried the pink coloring….it matched my color palette close enough!!

I did make quite a few flower-shaped buttons and poked indents around the edges, but these are some of my favorite designs, the simple ones:denna's ideas: button cookies for a sewing party

Almost ready for a party…..denna's ideas: button cookies for a sewing party denna's ideas: button cookies for a sewing partyMmmmm, good to the last button!denna's ideas: button cookies for a sewing party

What to do with a pink grapefruit…?

Standard

All of a sudden, we had a big bag of grapefruits.  The kids love them, but I’m not so sure about them…they make my tongue sting…we juiced a few and added them to sprite for punch one night, but I still wanted to try and find another use for them (the punch gave me heartburn) so after searching around on Allrecipes.com I found one recipe for grapefruit cookies, but didn’t like the “cakey” sound of them.  The idea wouldn’t go away, so I made up my own recipe (altered an old one I had) for grapefruit cookies.

Here are the steps, and the recipe is at the end:

Zest up some grapefruit peel and squeeze some juice!  That’s pink grapefruit remember…

Beat the butter and sugar, of course!

Add the zest (finely grated grapefruit peel, the pink part only , not the white stuff) and some of the juice,

Mix the dry ingredients separately,  (non-exciting photo)

Make the dough, then roll it into a log shape on wax paper.

All of a sudden, because of Valentine’s day,  I had the idea of shaping the log a bit so it would look heart shaped.  I pushed down on one side, to make the point of the heart, then flipped it over and pushed on the opposite side (still for the point)…(excuse the freakish hand)..then……….(pls. a lot of my ideas happen “suddenly” and “last minute/second” that’s the way I work..)

Then I used the handle of a spatula to make an indent in the opposite side, to divide the top of the heart.

Refridgerate the dough, usually for a couple of hours (or freeze for a bit) so it’s stiff enough to slice thinly.

Prepare some pink and orange decorator’s sugar in a shallow dish or plate, and mix it together.

Press each sliced cookie into the sugar so that one side is coated with sugar, then place sugar side up on baking trays (cookie sheets) lined with parchment paper (or just greased, I guess 🙂  I actually worked up some patience and let the kids help me with this part:

Bake and let cool on racks.  Now mix up some icing with the remaining grapefruit juice and  pipe out a line around the edge, then 3 lines crossing the inside of the heart, to look like grapefruit sections.  Add 2 or 3 little “seeds”!  The icing is a bit “blobby”, not super stiff, so it spreads out a bit…but what a taste!

I was surprised how yummy they turned out!  But they still made my tongue sting a bit!  The rest of the family gave them a big 2 thumbs up: 

The Pink Grapfruit Butter Cookie Recipe

This is a smaller recipe, using one grapefruit, doubling or tripling works out great.

From one pink grapefruit~ 1 Tbsp. juice and 2 tsp. zest (finely grated peel)  (Put aside an extra 2 Tbsp. of juice for the icing)

Combine the dry ingredients~

1 cup flour

1/8 tsp. salt

1/8 tsp. baking soda

1 Tbsp. cornstarch

Beat together:

1/4 cup icing sugar

1/3 cup butter

1/4 cup sugar

At low speed, beat in grapefruit peel and juice and 1/2 tsp. vanilla until mixed.  Gradually beat in flour mixture just until blended.   Roll dough into a log (about 2 inches wide and about 8 inches long), wrap in wax paper or plastic and refridgerate for a few hours until firm.  Slice into about 1/4 inch slices.  Push one side of each slice into sugar and bake at 350 degrees Fahrenheit for about 10 minutes.  Let cool then ice with the following icing~

Icing~

melt 1/2 Tbsp butter

whisk in 1 cup of icing  sugar and

1/2 tsp. vanilla

1 to 2 Tbsp. grapefruit juice

chocolate and peanut butter experiment

Standard
chocolate and peanut butter experiment

For some reason, since our vacation, I’ve felt like baking, a lot.  Sometimes I go to Allrecipes.com and look up new recipes.  Lately, though, I also have another online interest…Pinterest!  I’m afraid that I’ve found it very addicting!  It’s like having bulletin boards for little photos and snips of all your to-do ideas and inspirations, but online.  So if you see a photo, quote, recipe, or anything at all that you like and want to remember or share, you “pin” it to your board.  Then you can share your cool stuff and check out other people’s cool stuff.  So goodbye magazine clippings!  Now all my cool ideas are online, stored in one place, with links to intructions, etc.  What fun!

The other night I saw a photo of these Peanut Butter Chocolate Pillows on Pinterest, and then I couldn’t get it out of my mind…I love that combination!!!  So I clicked into the blogs full of recipes, read dozens of readers’ comments on the recipes, then opted for the one that had the easiest ingredients.  I realized afterwards that it’s a vegan recipe (that’s made without dairy and eggs), so for you dairy-free people, here’s a yummy recipe!  I later found another recipe called Magic in the Middle, that has lots of added animal ingredients and am thinking of trying that one out later.  I liked these ones a lot, but there was a slightly strange “healthy” aftertaste, like I had added some secret extra-healthy ingredient, which I didn’t!  Because of this hint of healthy, I may try the other, more rich sounding recipe another day!

For the recipe for these little pillows (well, mine didn’t look like pillows because I didn’t use all natural peanut butter and the dairy-free stuff, so mine just look like normal cookies), see here http://www.theppk.com/2009/03/peanut-butter-pillows/ (the Post Punk Kitchen blog)

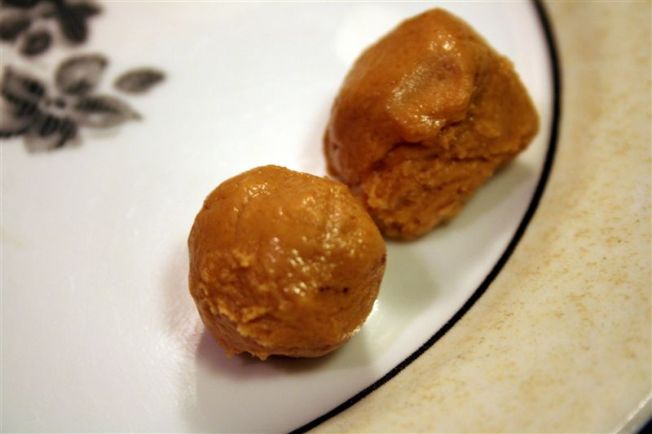
Here are a few photos of my efforts:   First you make little peanut butter balls, that was easy and fun!

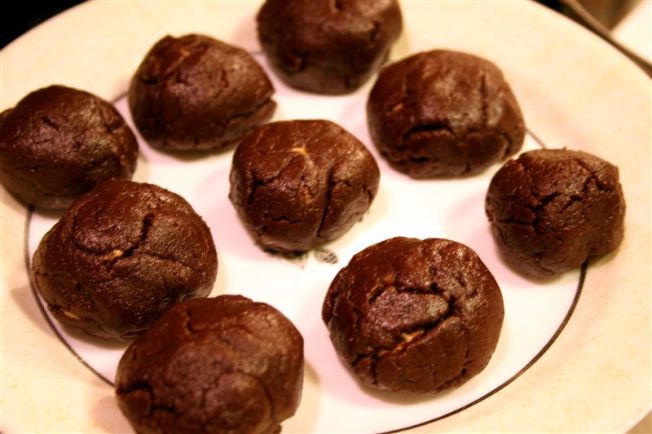
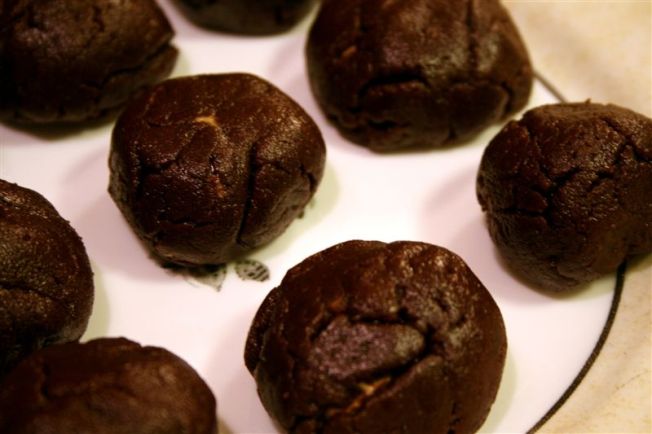
Then you make a chocolate dough, this was easy with ingredients that I had on hand, like canola oil….(I used milk instead of non-dairy milk).  No eggs or butter (which I didn’t happen to have).  It was all so quick and easy!  Then came the fiddly part: flattening chocolate balls, adding a peanut butter ball to the middle, then closing the flat chocolate tortilla around the middle filling and rolling it into a neat ball.  The photos I saw made it look so easy, but the chocolate dough had a strange texture, nice and greasy, but cracked easily.  So it took quite awhile to cover the little tan balls with the dark brown dough, making large ploppy mounds.

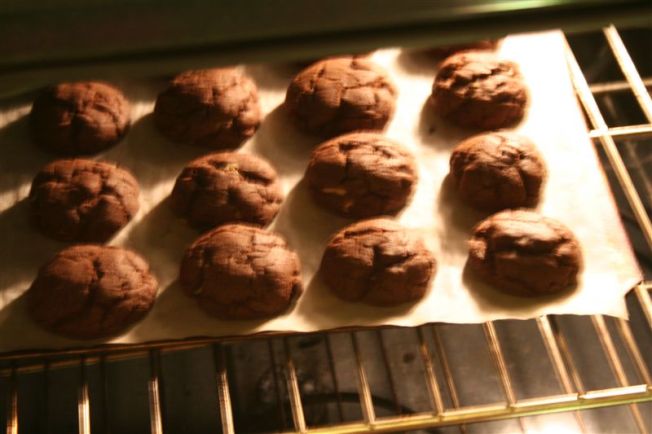
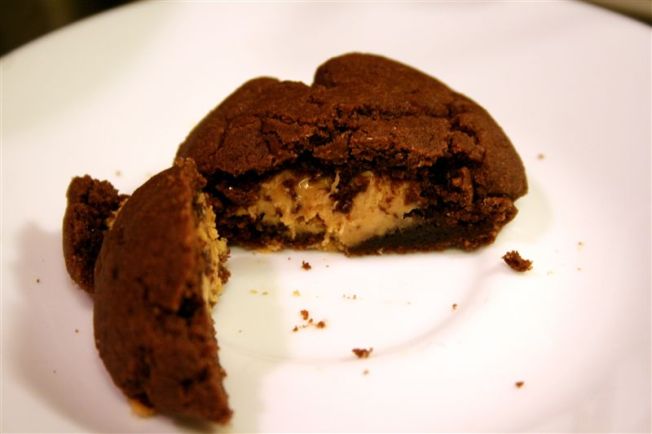
They baked up pretty nicely, making about 25 medium to large cookies.  The smell was wonderful while they baked! Straight out of the oven they were delicious!  When they cooled off they were still yummy, nice and crunchy on the outside and chewy on the inside, with a nice strip of peanut butter in the middle!  For some reason, sometimes I still felt like they had some strange ingredient or smell, like ground flax….sometimes, then other times they were super.  Sometimes I add strange healthy ingredients, but not this time!  The kids really liked them, but they were almost too big, and not all the kids finished the cookie they took.  I don’t think Henry was too impressed, but he ate quite a few anyways, with several glasses of milk.  So I guess my experiment was a success..!?!  Here’s the finished product:

If you would like an invitation to join Pinterest, just let me know 🙂  it’s so much fun (if you like that kinda thing, and clicking around, and looking at photos, etc)